Inventory Canvas: Hotbar and Buttons
 Edit on GitHub
Tutorial Overview:
- Import and configure a spritesheet.
- Create drop target, stacking and non-stacking draggable UI slices.
- Create an interactive UI canvas with draggables.
Create the UI Canvas: Hotbar
With the completed UI slices, we can add some common game UI elements that use draggables. A Hotbar for abilities, consumables and equipment. A set of spaces to hold bags that can be opened and closed. We'll also create the starting point for a character or equipment screen.
In the 'Hierarchy' panel of the UI editor, right-click and add a new empty element to the canvas. Rename it 'Main'. In the Transform2D component of Main set the Anchors to fill all space.
Add a Droptarget-Container slice to the canvas if there isn't one already. Rename it 'Hotbar'. Rename the child element Droptarget-Slice to 'HotbarSlot1'.
In the 'Hierarchy' panel, drag the Hotbar and drop it onto Main, to make Hotbar the child of Main.
Select HotbarSlot1, right-click and copy (Hotkey: Ctrl+c). Select the Hotbar and right-click Paste as child (Hotkey: Ctrl+Shift+v). Do this until you have 10 Hotbar slots.
In the Transform2D component of Hotbar, set the anchor to bottom and change the Width and Height to fit all the Hotbar slots in one row. The Width should be 515, Height 55.
Now is a good time add a stacking and non-stacking draggable slice to a few hotbar slots. You can change the Image Index of the draggables to set sprite that is displayed.
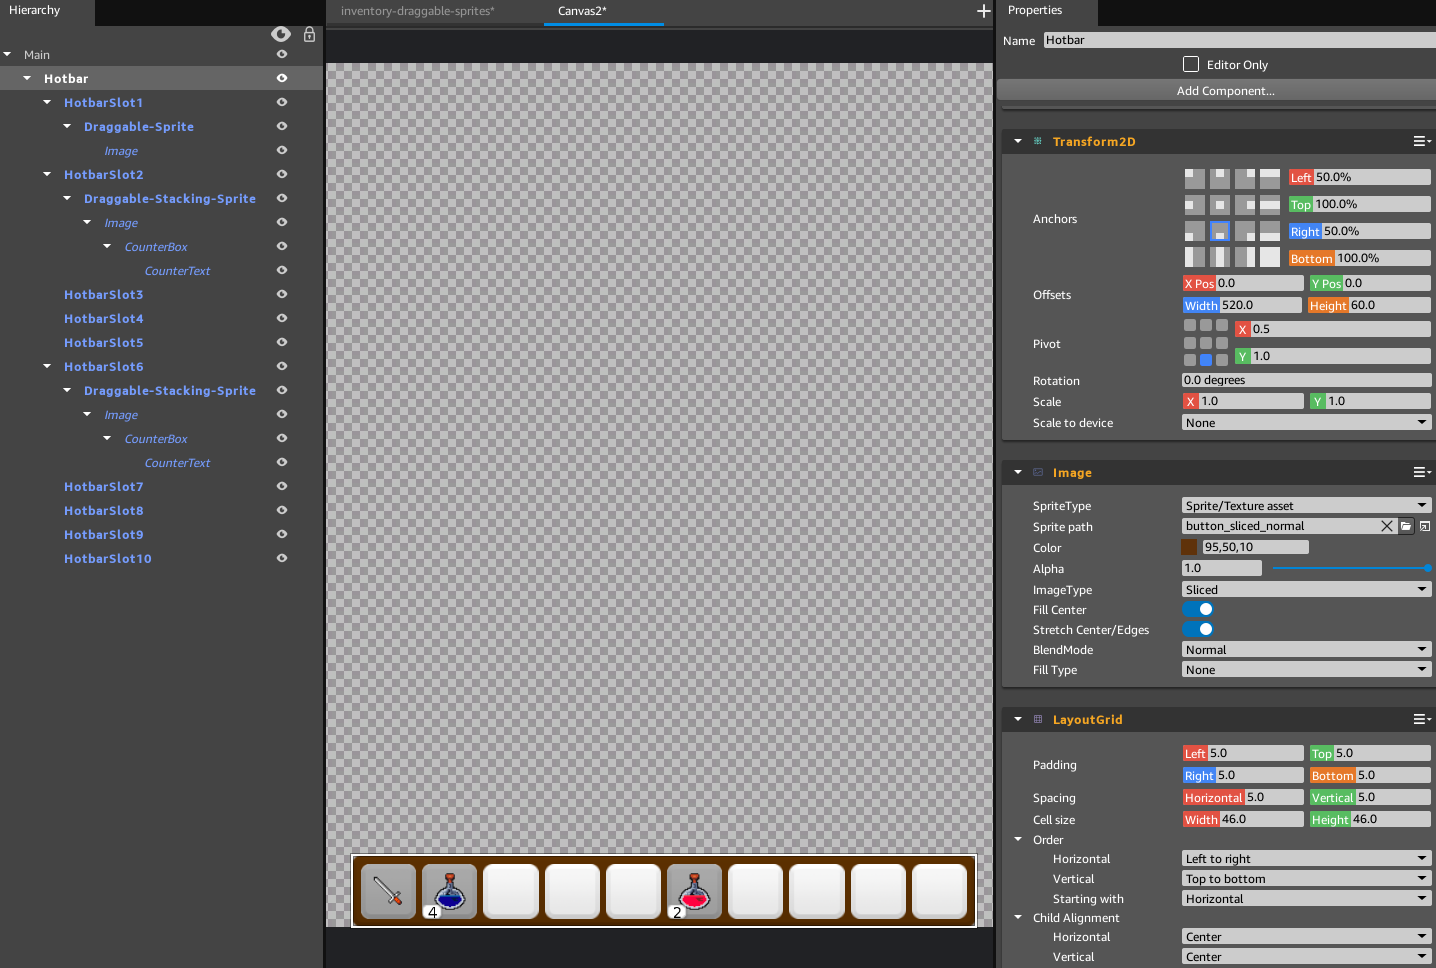
Step 6. The Hotbar Element Configuration
Character and BagSlot Buttons
Add two new Droptarget-Container slices and Parent them to Main. Rename the first container 'Tabs', rename the child DropTarget 'CharacterTab'. Rename the second container 'BagSlots', rename the child DropTarget 'BagSlot1'.
Select Tabs and set the anchor to bottom-left. Select BagSlots and set the anchor to bottom-right, set the Width Offset of BagSlots' Transform2D component to 160.
With both CharacterTab and BagSlot1 selected, Delete the DropTarget and Lua Script components. Add a Button component. In the Image component, change the Sprite path to load 'basic-sprites.png'.
Select CharacterTab and set the Image index to 11, the helmet sprite.
Select BagSlot1, set the Image Alpha parameter to .5 to signify that the BagSlot is empty, set the Image Index parameter to 1, the closed bag sprite.
In the 'Hierarchy' panel, select BagSlot1, right-click and copy (Hotkey: Ctrl+c). Select the BagSlots and right-click Paste as child (Hotkey: Ctrl+Shift+v). Do this until you have 3 BagSlots. You may want to reorder or rename the BagSlots to have BagSlot1 on the far-right of the screen, alternatively, you change the horizontal ordering of BagSlots' LayoutGrid component to Right to left.
For this tutorial, BagSlot2 and BagSlot3 will be empty, but BagSlot1 will contain a bag. Change the Image Alpha parameter of BagSlot1 back to 1.0. Set the Image Index to 2, the open bag sprite. This bag will be open by default.
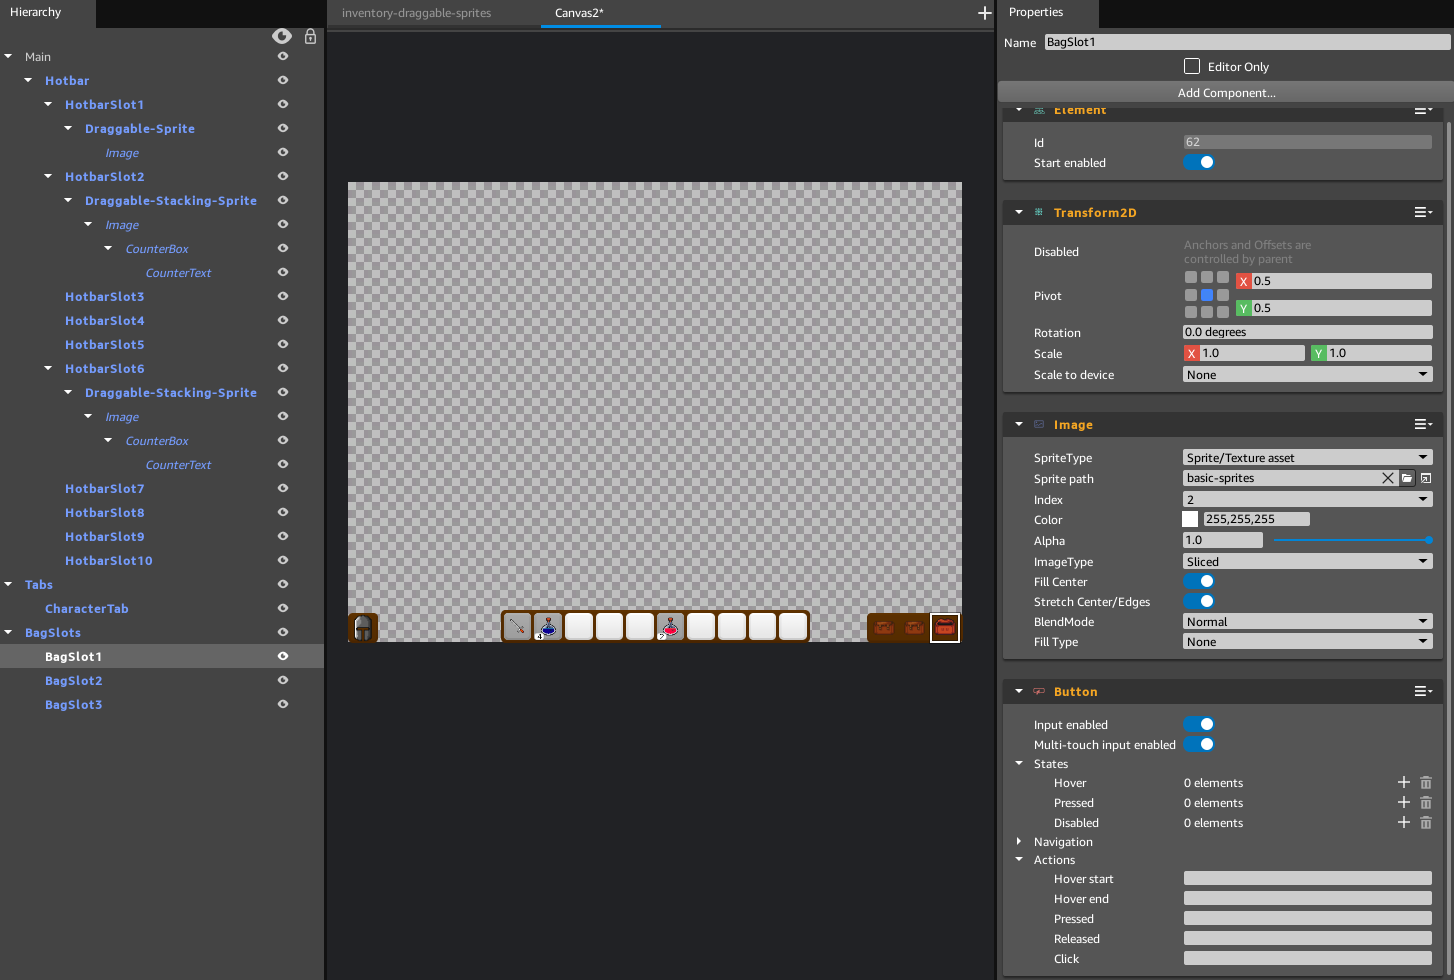
Step 13. The BagSlot1 Element Configuration